Dec 6, 2023
So Now You’re a ServiceBell Admin (How to Get Started With ServiceBell)
This play covers everything you need to know to configure ServiceBell from scratch.
Ayyyy! So you’re the new ServiceBell admin for your team?
Take 30 seconds to celebrate… Seriously… Do a little dance or something.

Done celebrating? Great!
Now you’re probably wondering where you should even start.
Don’t worry — this play covers everything you need to know to configure ServiceBell from scratch. So you can give your team the best chance at success. Let’s roll:
1. Integrate Your CRM, Calendar, etc
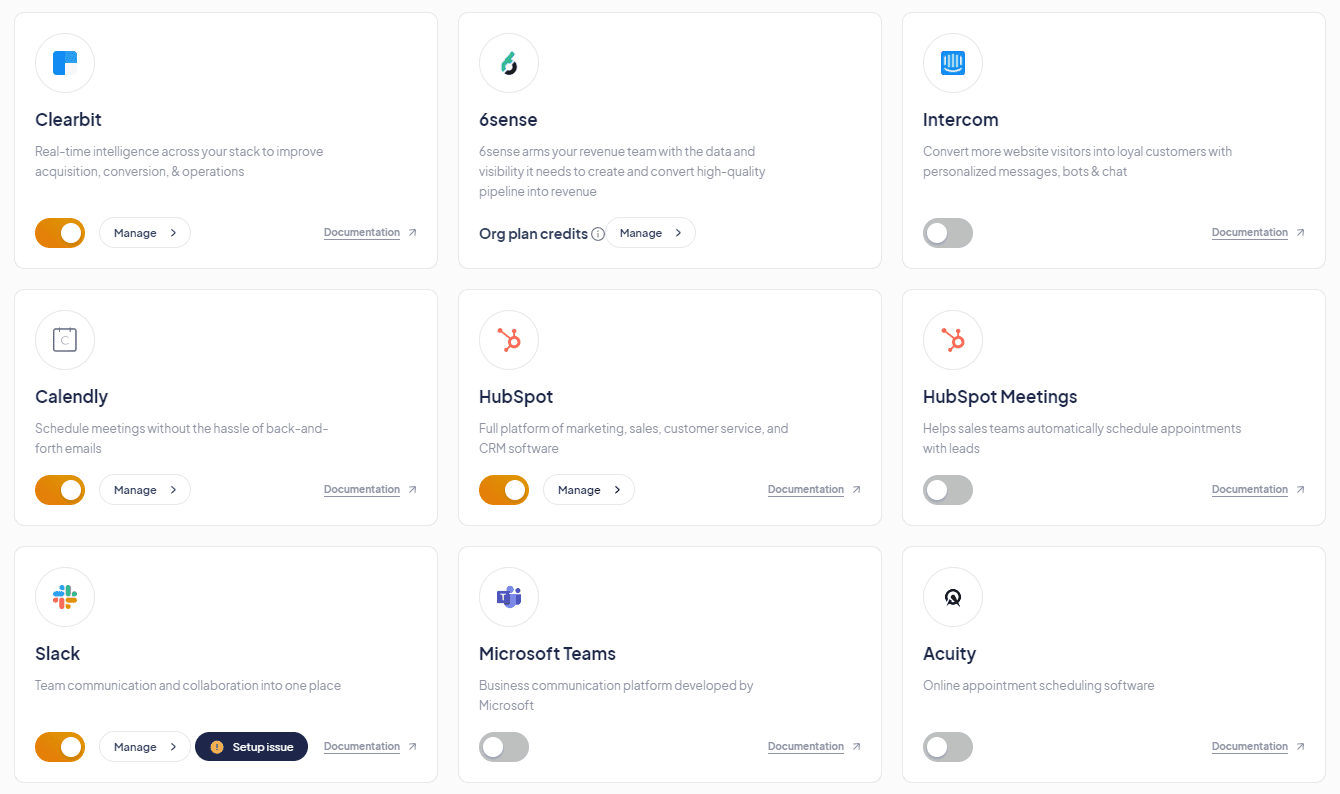
First things first — you’ll want to integrate ServiceBell with your:
CRM (HubSpot or Salesforce)→ For tracking & enriching visitor data
Slack→ For visitor Slack alerts
Clearbit & 6sense→ For revealing anonymous visitor identities
Click here to view your ServiceBell integrations tab.
You can also integrate your Calendly, Outreach, Microsoft Teams, Zendesk, and more here.
Also, make sure your reps integrate their own Google Calendar/Outlook Calendar and Zoom in the user integrations tab. You can send your reps this link to set up their user integrations.
2. Setup Your Team’s Working Hours
You can set your team’s general availability in Settings → Org Working Hours:
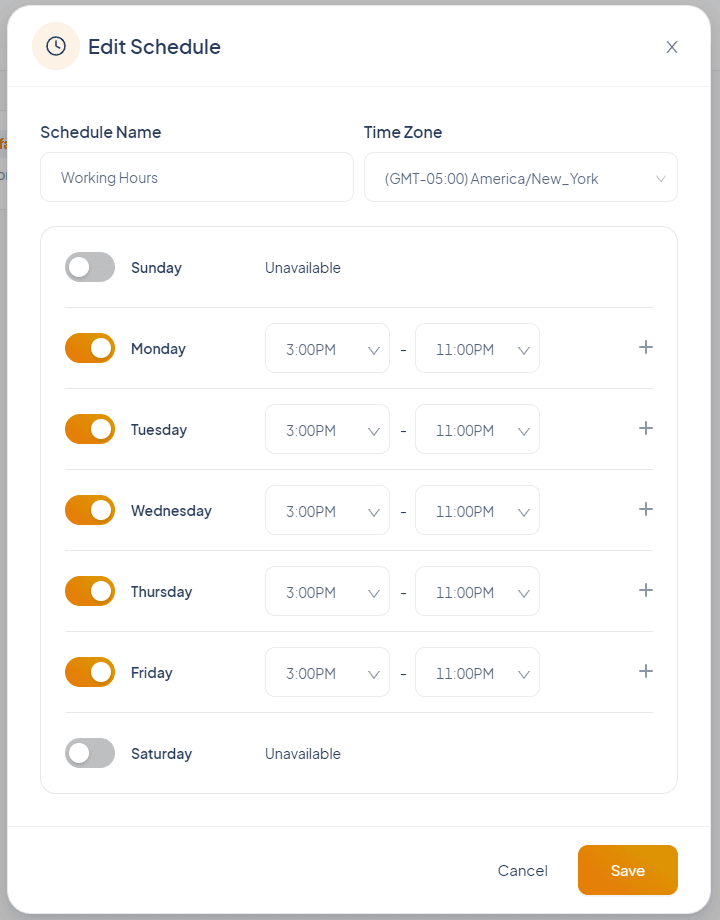
Scheduling your reps’ shifts can make or break their response time and overall stress.
Before you pick your org’s general availability — we recommend giving this article a read:
“Staff Your ServiceBell Agent Team to NEVER Miss Prospects Visiting Your Website"
3. Design Your Widget to Grab Attention

View Article: “Design Your ServiceBell Widget to Demand Attention From Visitors”
4. Configure Your Video Call Settings
Edit the default video call settings in Settings → Video calls.
If you want to review all of your reps’ sales conversations, make sure you toggle the automatic call recording option:

If you want to increase your pickup rate, make sure to send a proactive greeting message so that visitors quickly understand what’s happening when they get called:

You can also create the same type of automated greeting for reactive calls (initiated by the visitor) — but this isn’t always necessary.
5. Invite Your Team & Create User Groups
Inviting Your Team members
You can invite your entire team and give them roles in Settings → Members:
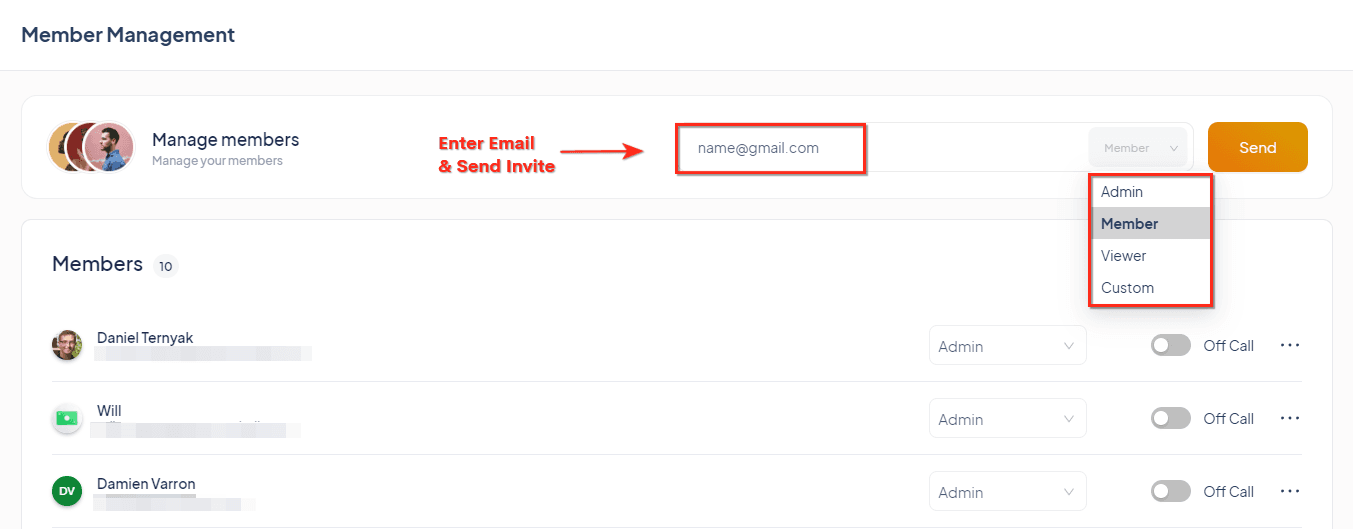
Just enter their email, select their role, and click send.
Creating Custom User Groups
You can create custom user groups in Settings → Groups:
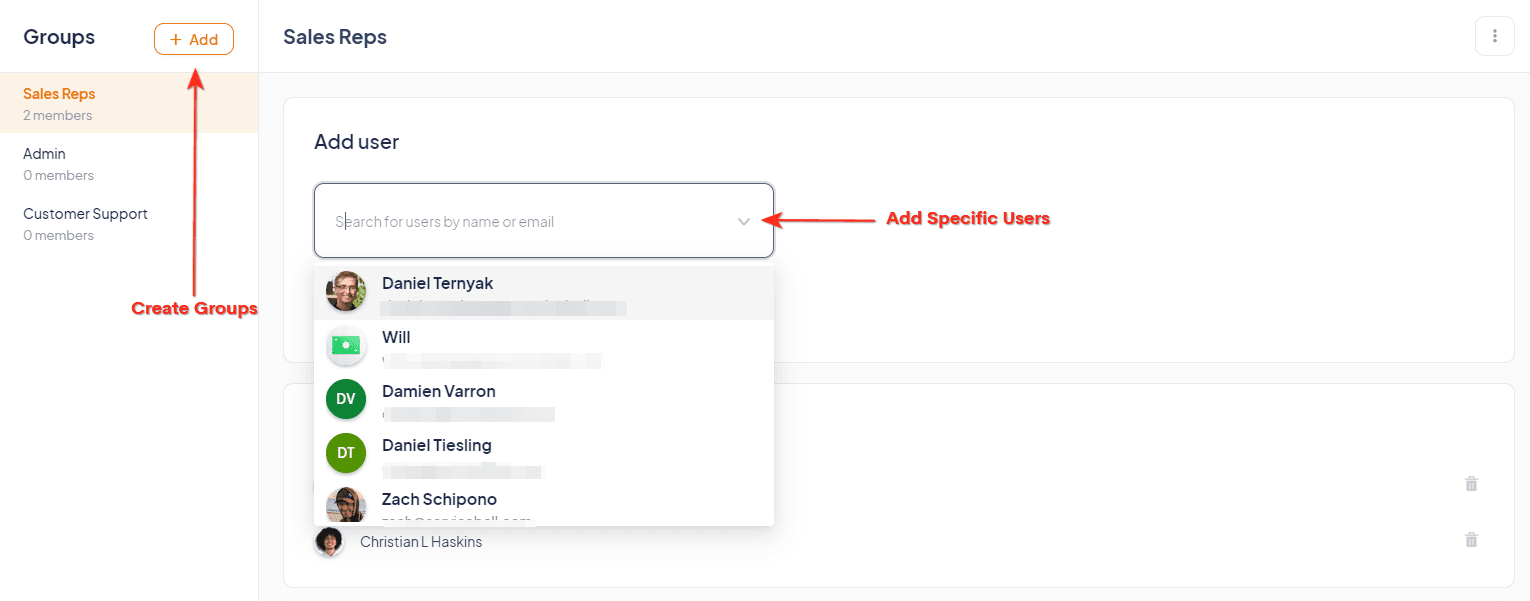
Just create a group (ex: sales reps, admin, support, etc) and select the users you want to add.
6. Setup Canned Responses for Your Reps
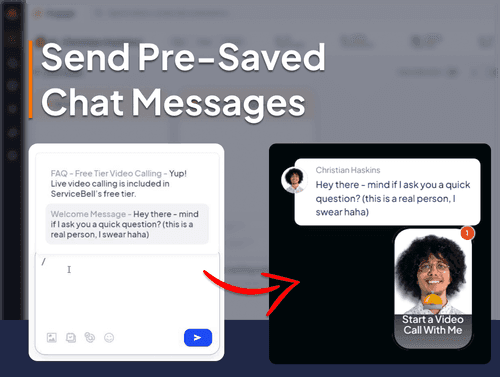
View Article: “Use Canned Responses to Grab Visitors’ Attention & Answer FAQs Quickly”
7. Create Meeting Types for Your Reps
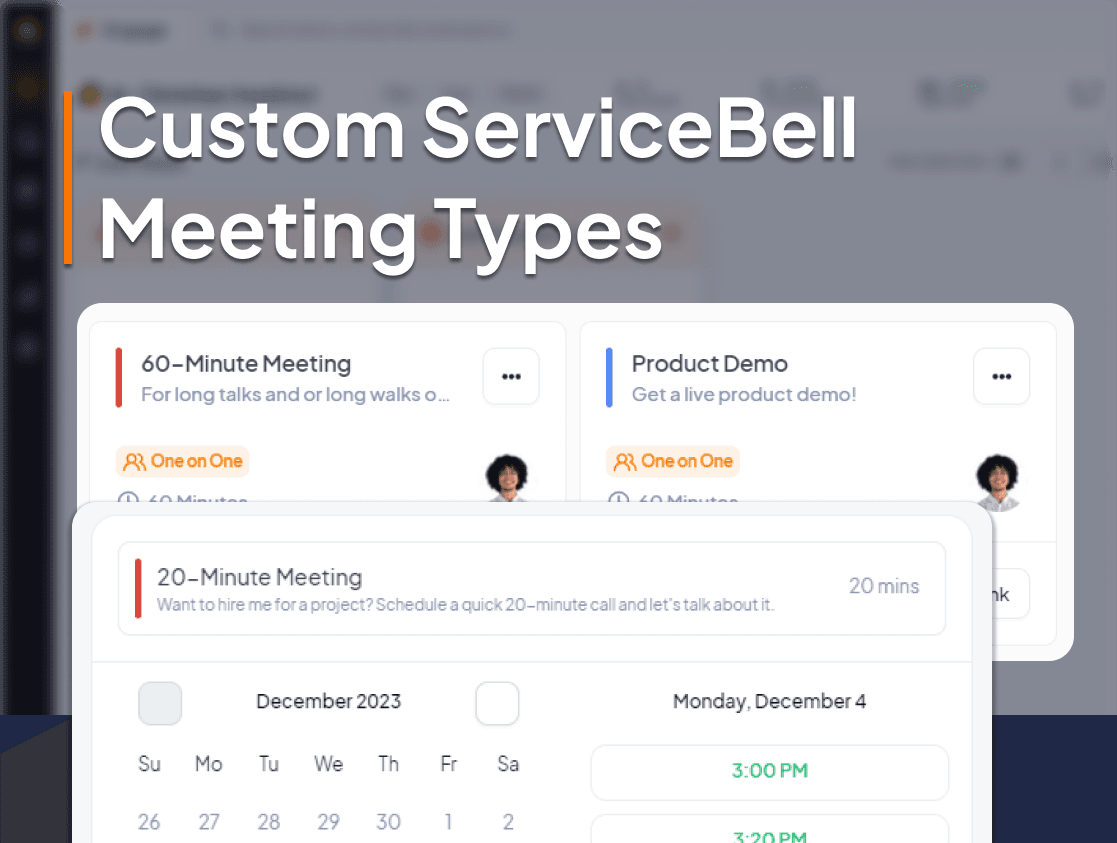
View Article: “ServiceBell 101: Custom Meeting Types”
8. Setup Automations (Segments, Alerts, Journeys, etc)
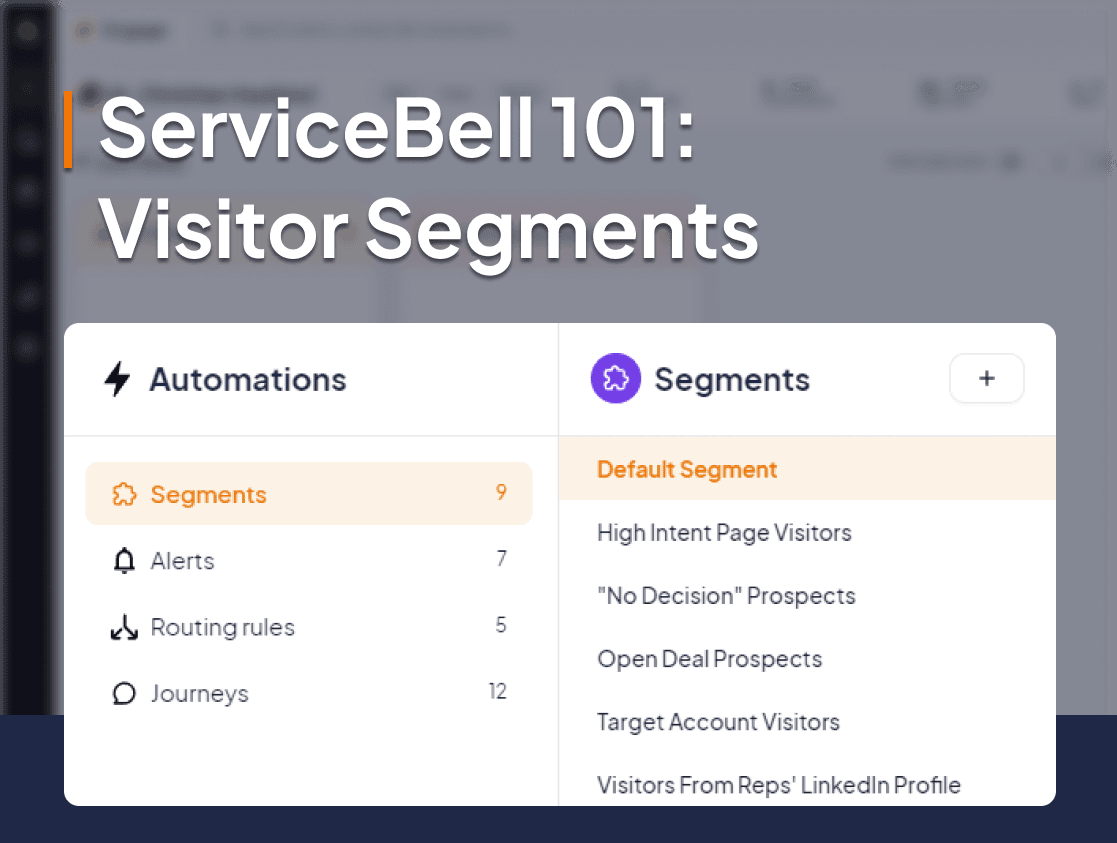
View Article: “The Ultimate Guide to ServiceBell Visitor Segments”
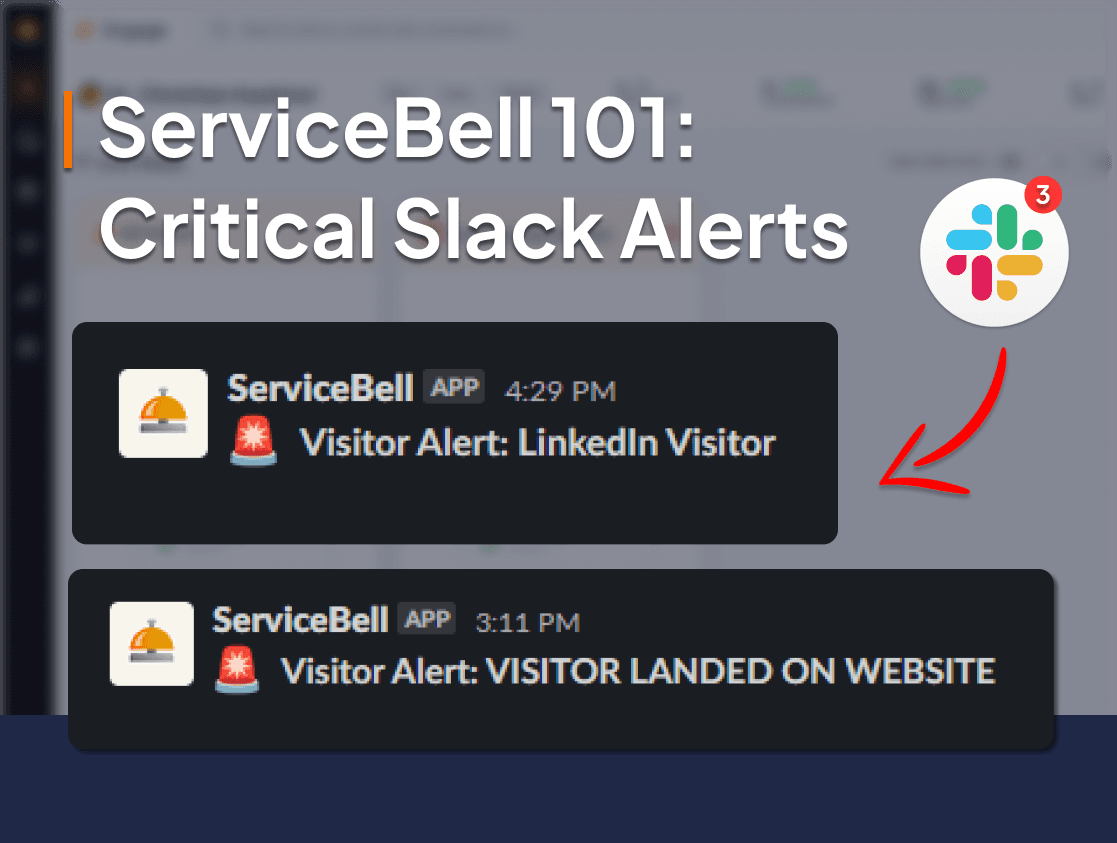
View Article: “ServiceBell Slack Alerts: Best Practices & Common Mistakes"
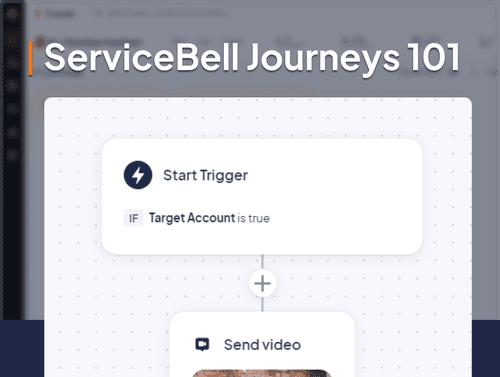
View Article: “Generate Qualified Leads 24/7 With Automated Chatbots & Journeys”
View Article: “The Ultimate Guide to ServiceBell Properties & Conditions"
All Done. Now What?
Now it’s time to keep learning about ServiceBell so you can get the most out of it.
Here are some more ServiceBell plays to skim over:
“Video Call LinkedIn Prospects Visiting Your Website (before they leave)”
“Route Live Website Prospects to The Perfect Sales Reps (Ultimate Guide)”
“Install ServiceBell Widget on Dock.us Proposal/Quote Pages (Must-Read)”